To publish an app on the Zoom Marketplace you must create an OAuth app.
When you’re ready to test making API calls, download the latest version of Postman and import the Zoom API collections following the steps outlined here.
There are Three Ways to Set up OAuth in Postman to Make API Requests
We’re going to go through three ways to set up our OAuth application credentials to successfully authorize and access the Zoom API to make requests.
The “Easy” Difficulty OAuth 2.0 Set Up in Postman
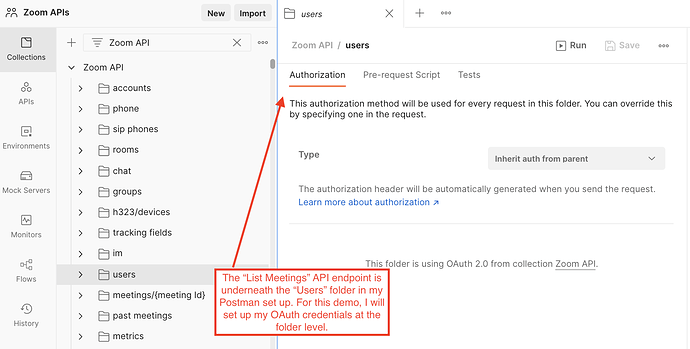
We’re going to make a simple request to the List Meetings API endpoint to retrieve upcoming scheduled meetings on my test developer account.
I’m going to set up my OAuth Authorization at the meetings/{meetingsId} folder level of the API, but you can set up authorization at the individual endpoint or Zoom API collection level for your use case and preference:
Now, from the “type” drop down, select OAuth 2.0:
On the OAuth 2.0 page, set up the top half to look like mine:
Set up up the bottom half like this, naming your “Token Name” something that makes sense for you. Since your client id and client secret are sensitive information, I have them stored as variables in Postman to easily pass through without compromising protection of the credentials for this demo:
Make sure the “Callback URL” you use is added to the “Redirect URL for OAuth” and “OAuth Allow List” for the set of client secret/client id you’re using in the “App Credentials” page. If you do not do this, you will run into an authorization error because Postman will not be able to get the code parameter from the redirect that it needs to request your access token.
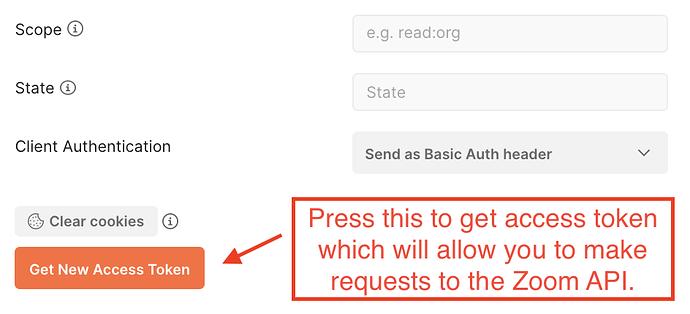
After you have done this, you are ready to press “Get New Access Token” ![]()
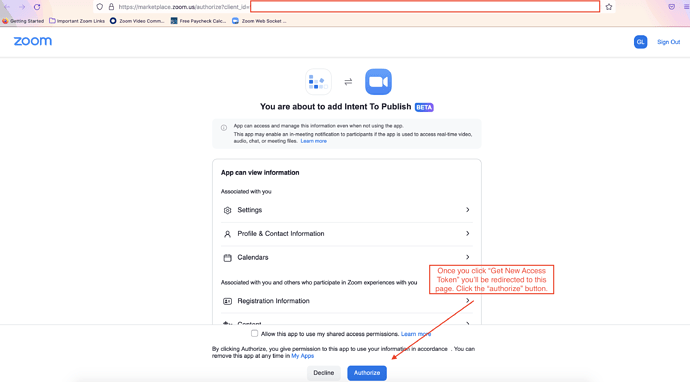
First you’ll see this page pop-up requesting you to authorize the app:
After you click “authorize”, you’ll see this page saying that “your call is authenticated”:
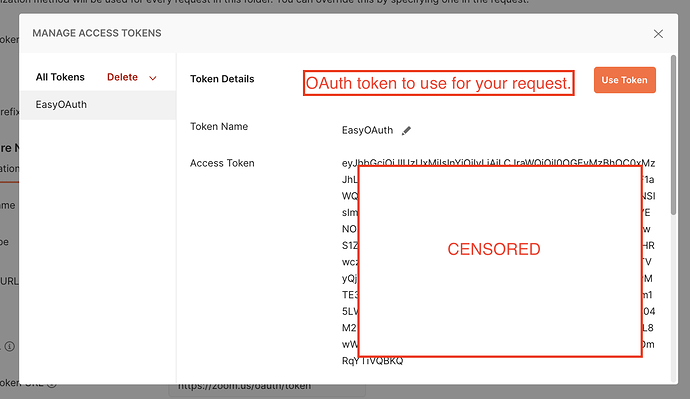
At the same time, you’ll see a confirmation message within the Postman client saying that the request was successful. It closes in <5 seconds and will be replaced with the following page:
Click “use token” and now we are ready to make a request to the “List Meetings” API endpoint! Make sure it’s set to GET by the request URL since that is the type of HTTP REST request we’ll be making.
I go to “Params” to remove the default options populated by Postman that are not needed and only leave “access_token”. There are other parameters you can include though! Check the documentation for the options. I also do not need to edit my “Headers” or “Body” right now because I just need {userId} or in my case specifically, {me} for this endpoint since I’m checking my own meetings.
Now I click “Send” and I see the response body in JSON format directly below!
Congratulations, you’ve completed The “Easy” Difficulty OAuth 2.0 Set Up in Postman!
The “Medium” Difficulty OAuth 2.0 Set Up in Postman
Please reference our Postman Workspace for full guidance on this process: Postman
The “More Complex” Difficulty OAuth 2.0 PKCE Set Up in Postman
For a walk through on this process, check out fellow Developer Advocate @donte.zoom guide here:


